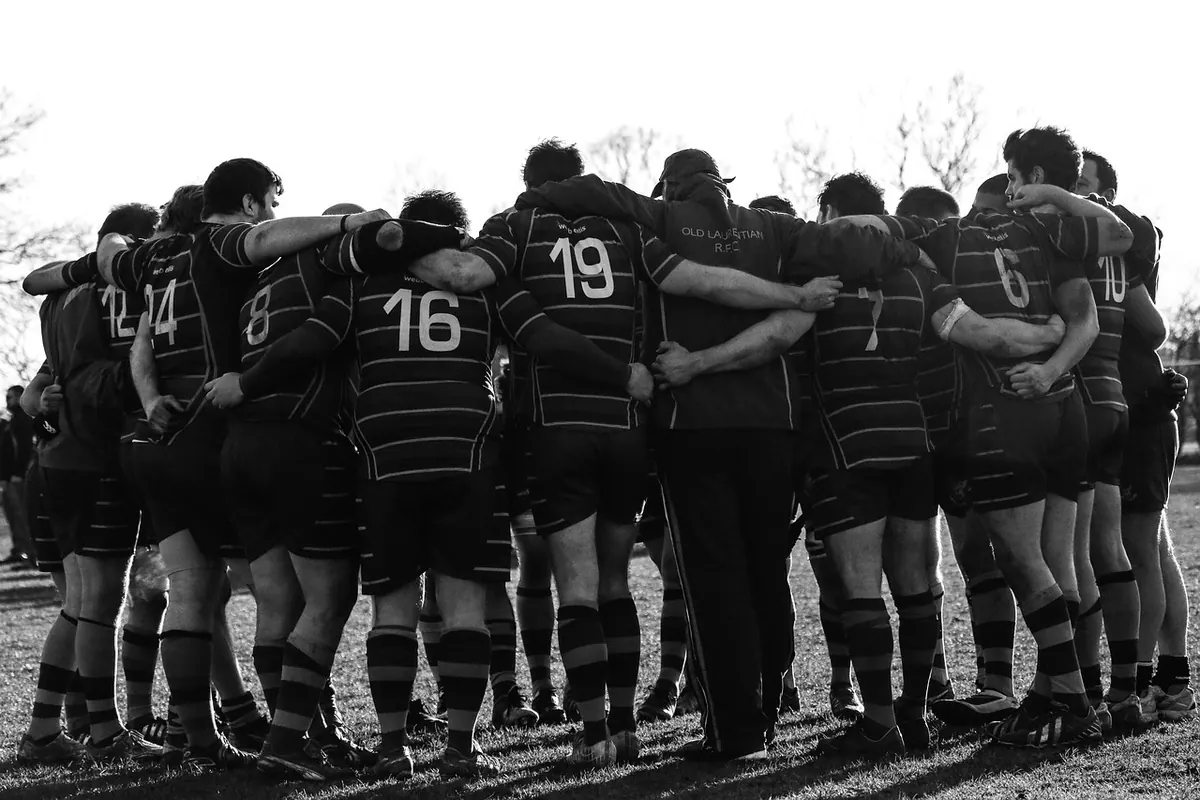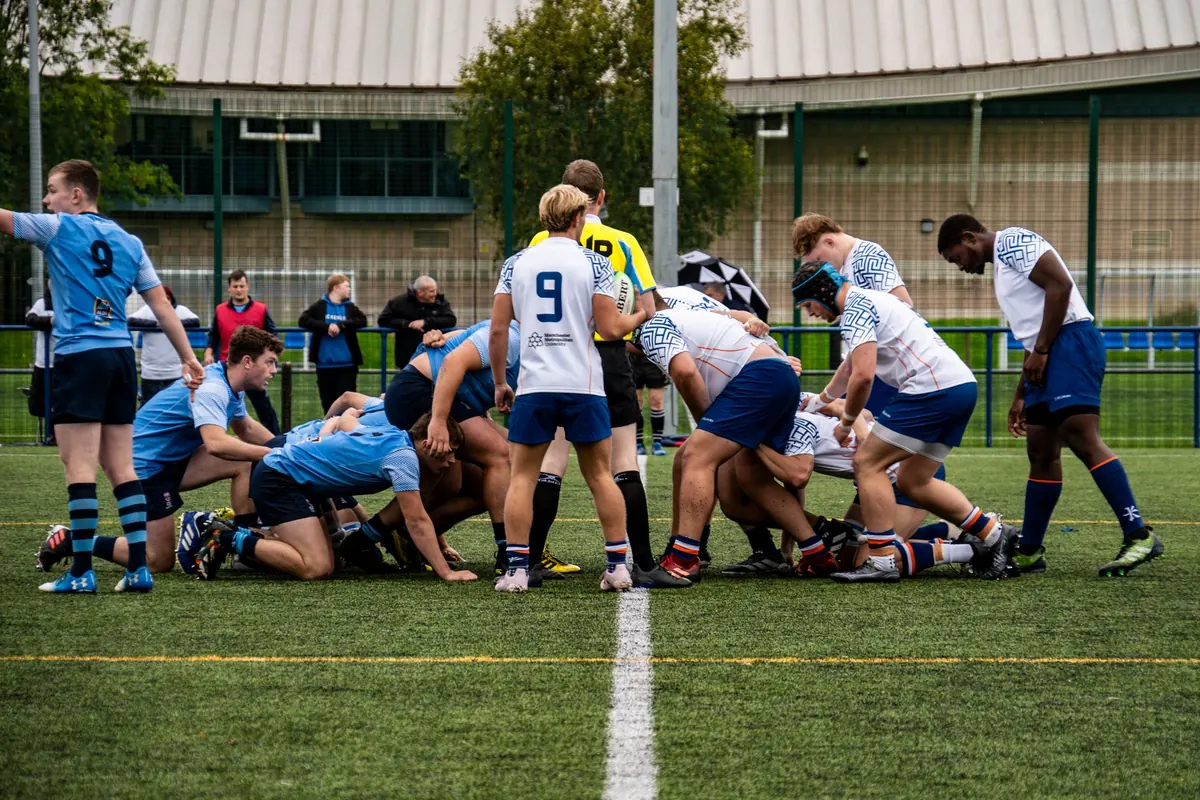
A rugby team sheet reads like a code: fifteen numbers, each one tied to a specific job. Learn the code and the game slows down. You start to see why the smallest player on the pitch is often the one doing the shouting, why the two tallest are loitering near the touchline before a throw, and why the number eight is standing at the back of a scrum with the ball at his feet. Here is what each number does, from the front row to the last line of defence.
The Forwards: Numbers 1 to 8
Forwards win the ball and do the heavy lifting. If a team cannot compete at the scrum, the lineout and the breakdown, the backs rarely get clean ball to work with. Numbers 1 to 8 are the biggest players on the pitch, but they are not interchangeable. Each shirt asks for something slightly different.
Front Row: 1, 2 and 3
The two props and the hooker lock together in the scrum and carry much of the pushing load. The loosehead prop (1) and tighthead prop (3) take their names from which side of the scrum they pack on. The tighthead is squeezed between two opponents, which is why he is often the strongest player in the squad. Both props need scrum technique, a strong neck and shoulders, the ability to lift jumpers in the lineout, and enough mobility to make their tackles and carry the ball short distances.
The hooker (2) usually throws into the lineout, a skill that is easy to underestimate because the throw has to be flat, accurate and timed to a jumper who is already in the air. In the scrum, he strikes for the ball with his foot. He tends to be a little smaller and more mobile than the props, and you will often see him popping up in the wider channels with the ball.
Locks: 4 and 5
The locks are the tallest players in the team and the engine room of the scrum. Their main jobs are jumping in the lineout, lifting teammates, driving the scrum forward, and competing at mauls. Timing a jump, catching a ball under pressure and landing safely while opponents try to drag you down are all part of the role. Many teams pair one heavy, powerful lock with a lighter, more athletic jumper.
Back Row: 6, 7 and 8
The flankers and the number eight link the tight work to open play. They tackle, carry, contest the ball at the ruck and cover a lot of ground across a match. The traditional split looks like this:
- 6, blindside flanker – usually the bigger of the two flankers, often used as a lineout option and asked to make hard, close-quarter tackles.
- 7, openside flanker – the breakdown specialist: first to the ball, low over it, strong on his feet, wins turnovers.
- 8, number eight – picks the ball up from the base of the scrum and carries it forward, with enough handling skill to link with the backs.
Modern back rows are less rigid than they once were, and the two flankers often swap sides depending on the phase. The core jobs stay the same.
The Half-Backs: 9 and 10
The scrum-half (9) is the link between forwards and backs. He passes from the base of scrums and rucks, box kicks, and decides when to speed the game up and when to slow it down. He is usually one of the smallest players on the pitch, low to the ground and sharp over five metres.
The fly-half (10) runs the attack: passing, kicking from hand, taking goal kicks in most teams, and choosing between spreading the ball wide and kicking for territory. Body types vary, but the best fly-halves share one trait — they stay calm when the defence is in their face. If you want to understand a team's plan, watch the 9 and 10 for two or three phases.
The Midfield: 12 and 13
The centres are where attack meets defence. The inside centre (12) often acts as a second playmaker, taking the ball flat, straightening the attack or passing to the outside centre. He is frequently a strong ball carrier and the player who organises the midfield defence.
The outside centre (13) usually brings more pace and footwork, hunting for a gap or a mismatch against a slower forward. He also has the toughest defensive job in the back line: one-on-one against a fast, stepping attacker with space to run into. Miss the tackle at 13 and the opposition are away.
The Back Three: 11, 14 and 15
The wingers (11 on the left, 14 on the right) finish the moves, but they do plenty more. Expect them to chase kicks, field high balls, defend the corners and, in many modern systems, step into the attacking line as extra playmakers. Pace, balance and bravery under a dropping ball matter more than size.
The fullback (15) is the last line of defence and often the best all-round athlete in the side. Catching high balls under pressure, covering kicks into space, counter-attacking and kicking long are all part of the job. Good fullbacks talk constantly, because they can see the whole pitch in front of them.
How to Read a Team Sheet
Use the numbers as a map rather than a set of rules. A few habits will make any match easier to follow:
- Start with 9, 10 and 15. These are the players who most often decide what happens next, and their positioning tells you whether a team wants to run or kick.
- Watch the back row at the breakdown. Whoever gets there first and stays on their feet usually controls the tempo of the game.
- Track the front row early. The first two scrums show you which pack has the upper hand, and that shapes everything afterwards.
- Check the bench. Replacements wear 16 to 23 in most competitions, and a strong bench often changes a tight match in the final quarter.
One caveat: this numbering applies to the 15-a-side game. In sevens, squads are smaller and numbers are far less tied to fixed roles. Once you know the fifteen jobs, though, you will spot them in any format — and you will never look at a team sheet the same way again.
Photo: Ollie Craig / Pexels